1. Home
  2. User Guide
  3. User Settings Menu

User Settings Menu

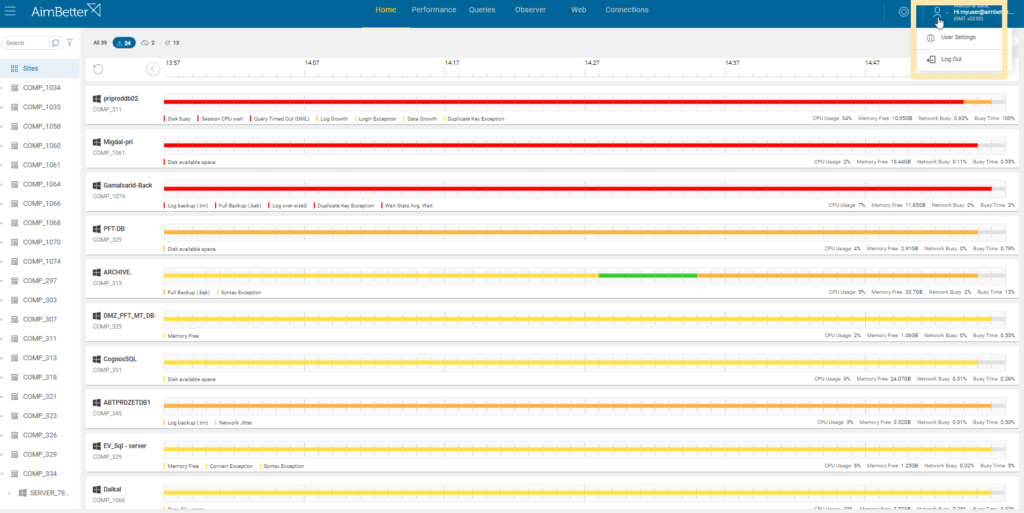
Clicking on the user settings icon next to login, the following options will be presented:

  1. User Settings
  2. Logout

User Settings

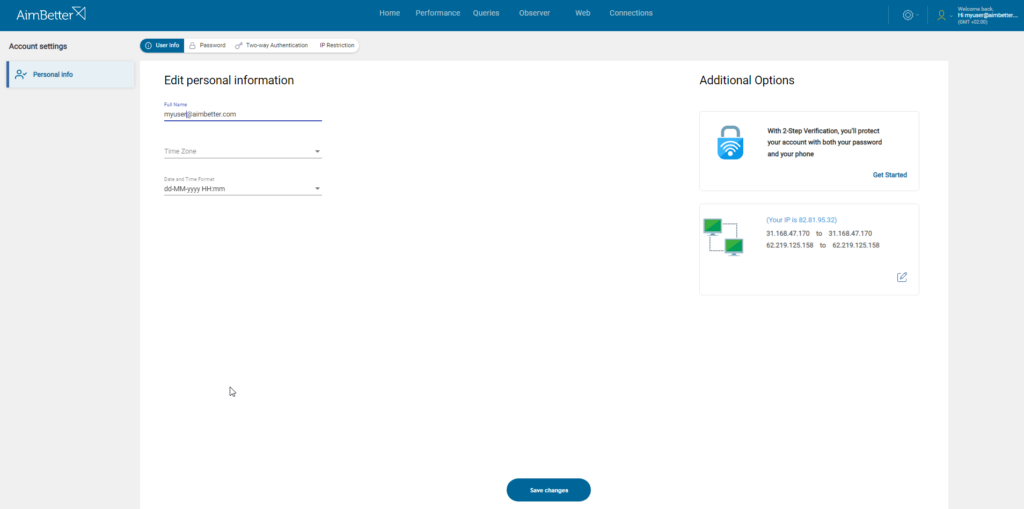
The User Settings is where the user’s personal information and security preferences are configured.
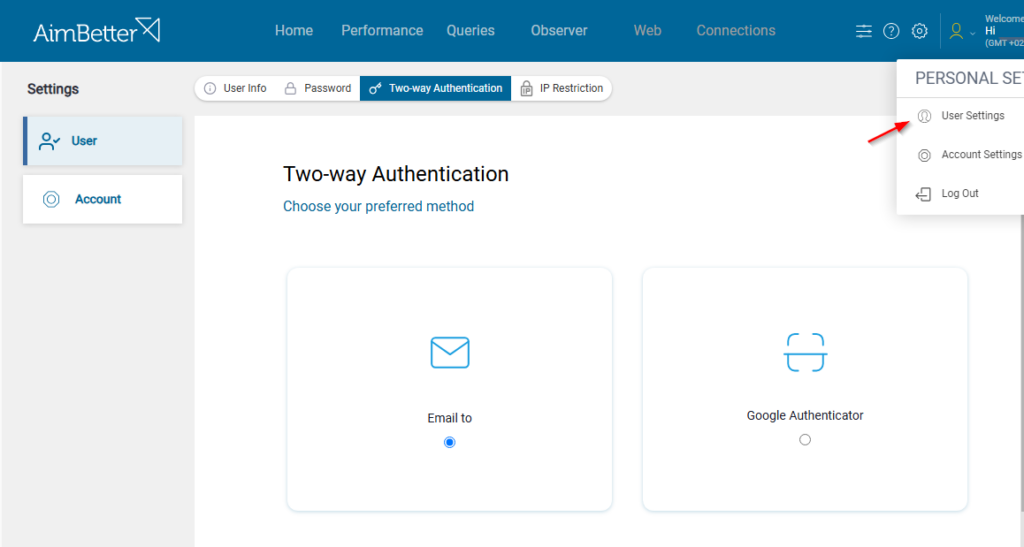
Two-Factor Authentication (2FA)

As part of our ongoing commitment to ensuring our customers’ data protection, the 2FA (Two-Factor Authentication) login is the default option for accessing the AimBetter system from July 2nd, 2023.

This method requires providing a code received by email after entering the correct password. This procedure prevents users who are not part of the company from having access to the system.

To change the Two-way Authentication settings, click on the Two-Authentication tab.
As a security measure, in case of disabling the default 2FA login, it is required that you restrict access to a specific IP.

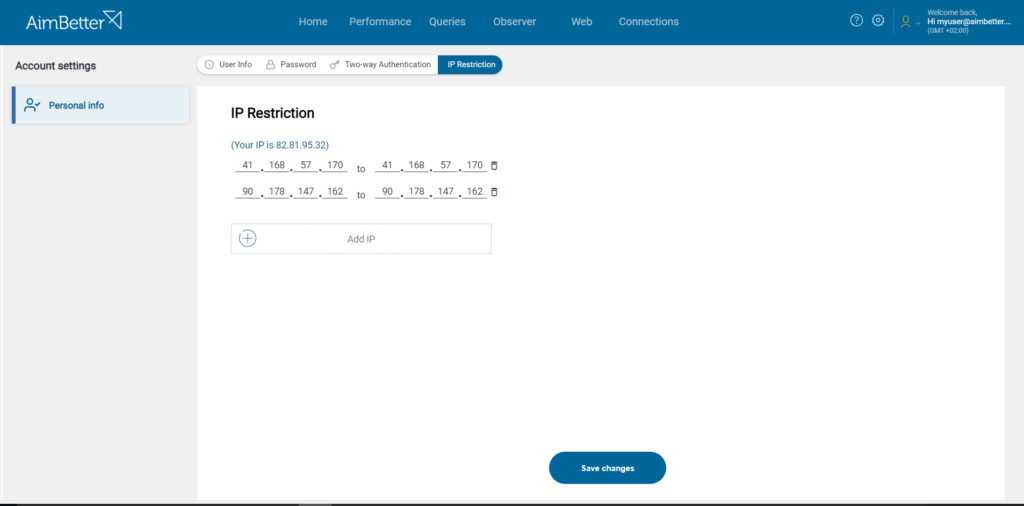
IP Restriction

To change the IP Restriction settings, click on the IP Restriction tab.

You can check your IP address with your system administrator or through this link

SSO – SAML 2.0

Single Sign-On (SSO) is an authentication method that allows users to access multiple applications or services with a single set of login credentials. With SSO, users only need to log in once to access various systems and resources across different platforms, eliminating the need to remember multiple usernames and passwords. This process improves security by centralizing authentication and reducing the risks associated with weak or reused passwords.

You can integrate AimBetter with your Identity Provider to authenticate users via single sign-on (SSO) if it supports the SAML 2.0 protocol (Okta, Azure AD, Auth0, Onelogin, etc).

To configure SSO—SAML 2.0 on AimBetter, select the Security tab in Account Settings (under User Settings).

Service Provider details

You’ll need to provide the following SAML Provider details to your Identity Provider:

  • Entity ID – The Service Provider ID that identifies the application for SSO authentication.
  • Assertion Consumer Service URL – After the Identity Provider verifies the user’s identity, it returns a SAML assertion to this URL for validation.

Identity Provider details

You’ll need to provide the following details from your Identity Provider:

  • SSO URL – The endpoint where Service Provider sends authentication requests for user login. This URL is sometimes called the Login URL or IdP SSO URL.
  • Public X509 Certificate – A digital certificate used to secure the exchange of authentication information between the Identity Provider (IdP) and Service Provider (SP).

–Okta SAML

For Okta, after logging in, you will see the Okta dashboard.

  1. Click on the Application tab and select Applications.
  2. Click on the Add Application button and click on Create New App to create a new application for AimBetter.
  3. Set the Platform as Web, the Sign on method as SAML 2.0, and Create your application.
  4. You will be redirected to your application’s General Settings page. Provide a name for your application, e.g., AimBetter, and click on Next to proceed to configure SAML settings.
  5. Provide the SAML Settings as in the following image.

–Azure SAML

For Azure, after signing in to the Microsoft Entra admin center as at least a Cloud Application Administrator.

1- Browse to Identity > Applications > Enterprise applications > All applications > New Application > Create your own application.

2- Enter the application’s name, e.g., AimBetter, and leave the last option (Non-gallery) selected.

3- Select Single sign-on to open the Single sign-on pane for editing.

4- Provide the SAML Settings as in the following image.

Notice:

You can disable the SSO login anytime by toggling it OFF, and the configuration will be kept until edited.

Was this article helpful?